Adding RetroArch Shader Sets to Retrobat
Retrobat comes bundled with a set of shaders, however it does not include all shaders available in Retroarch.
You can manually add new Shader Sets to the Retrobat menu for libretro cores, here is the procedure.
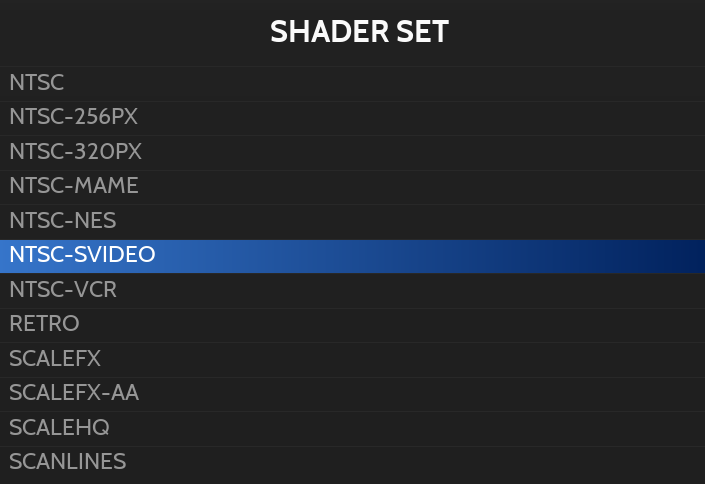
Location of Shaders
Retrobat
Shaders available in Retrobat are located in the \system\shaders\configs folder of your Retrobat installation.
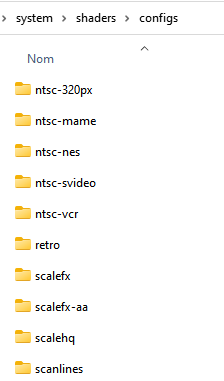
RetroArch
Shaders available in Retroarch are located in the \retroarch\shaders\ folder of your Retrobat installation.
They are sorted first by type of shader (glsl or slang):
GLSL: Shader format available to OpenGL.
Slang: New and recommended shader format, when available. Compatible with Vulkan, Direct3D 10/11/12, OpenGL Core.
Retrobat will automatically search in the right folder based on the video driver defined for the system.
Example of shader folders for GLSL:
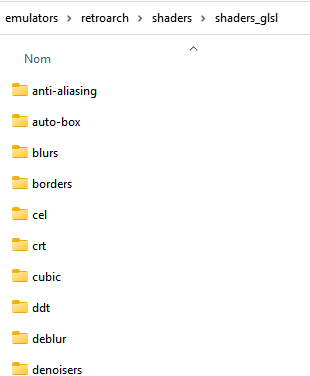
Adding a new Shader in the Retrobat menu
Let's say you want to add the Shader "advcartoon" to Retrobat, the shader is available both for GLSL and SLANG:


The shader is located in the \retroarch\shaders\shaders_xxxx\cel folder and is named "advcartoon.glslp".
To add it to Retrobat, go to the \system\shaders\configs folder and create a new folder, name it for example "advcartoon":
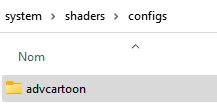
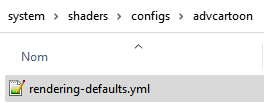
Inside this folder, create a file called "rendering-defaults.yml":
Open the file with your notepad and add the following text:
In our example it will be:

The shader set will now appear in Retrobat:

Some shaders can be adapted for specific systems, trying to reproduce in a more precise way their effects. It's possible to use different shaders per-systems on the same rendering-defaults.yml file. For this, adding the name of the system for which the shader should be different from the default one.

Finally, some standalone emulators can also use the retroarch shaders. In this case, the name of the emulator should be add as an additionnal line.

To avoid risk of loosing his homemade presets within RetroBat update, consider saving your new configs folders aside, to replace them easily if needed.
Last updated
Was this helpful?
